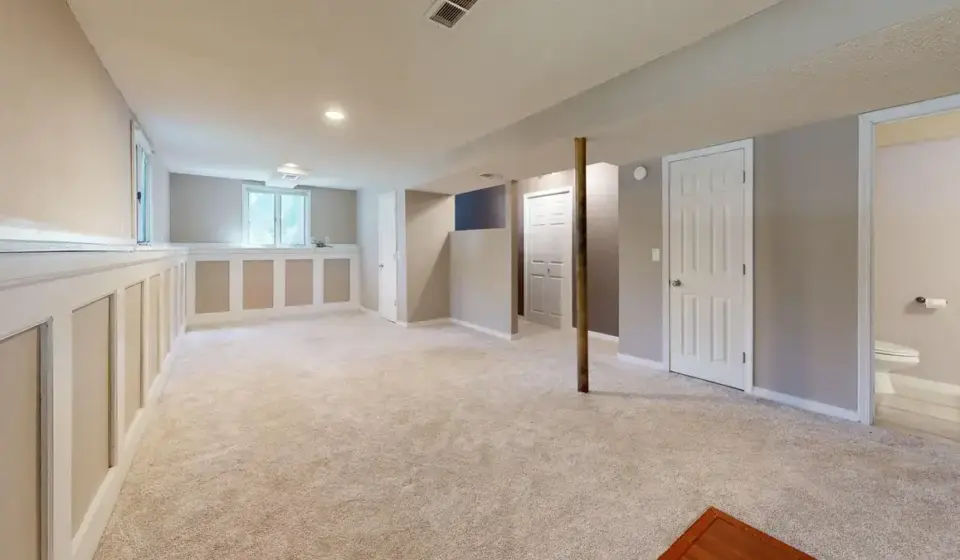
How to Plan a Basement Layout Before Finishing Starts

Last updated: November 13, 2026
Quick Answer: plan the basement in 5 steps before framing starts. A basement layout plan keeps the mechanical room, egress window, support columns, stair landing, and bathroom rough-in where they belong before framing starts. This article on How to plan a basement layout before finishing starts focuses on the fixed parts first, then the rooms.
The safest basement layout is usually the one that fits the structure first and the rooms second.
The steps below settle where to put each space, what to avoid, and what to lock in before a single wall goes up.
If the rest of the build is moving fast, this is the page to keep open. A clean basement layout plan saves you from moving walls, rerouting drains, or trapping a room around a support column later.
Start with the fixed parts of the basement layout plan
A good basement layout plan starts with the things you cannot move easily: stairs, support columns, the mechanical room, and the bathroom rough-in. Picture this: you’re standing in the bare basement with a tape measure, a sketch pad, and a few walls already implied by the house above. The job is not to dream up rooms yet. The job is to map what already controls the space.
Mark the stair opening first, then the furnace, water heater, electrical panel, cleanouts, beams, posts, and any sump pit. These items often set the line for the whole plan. If you ignore them now, you may end up with a finished wall that blocks access to a filter, service door, or panel.
- Measure the full basement footprint, then record the stair opening, beam drops, column locations, and any low ducts on paper.
- Trace the mechanical room and utility access zones so service clearances stay open.
- Tag the bathroom rough-in, if it exists, before you sketch bedrooms, a family room, or storage.
- Note the egress window location so any legal sleeping room can sit near it if needed.
A simple hand sketch is enough at this stage. Use graph paper or a digital drawing app if you like, but the point is accuracy, not presentation. If one support column sits 30 inches off the wall, write it down. If the stair landing turns into the center of the room, that detail matters more than paint color ever will.
Here’s the catch: the fixed parts decide what is possible. A basement with a centered support post and a far-off bathroom rough-in will not support the same layout as an open slab with utilities stacked in one corner.
How do you plan around low ceilings and support columns?
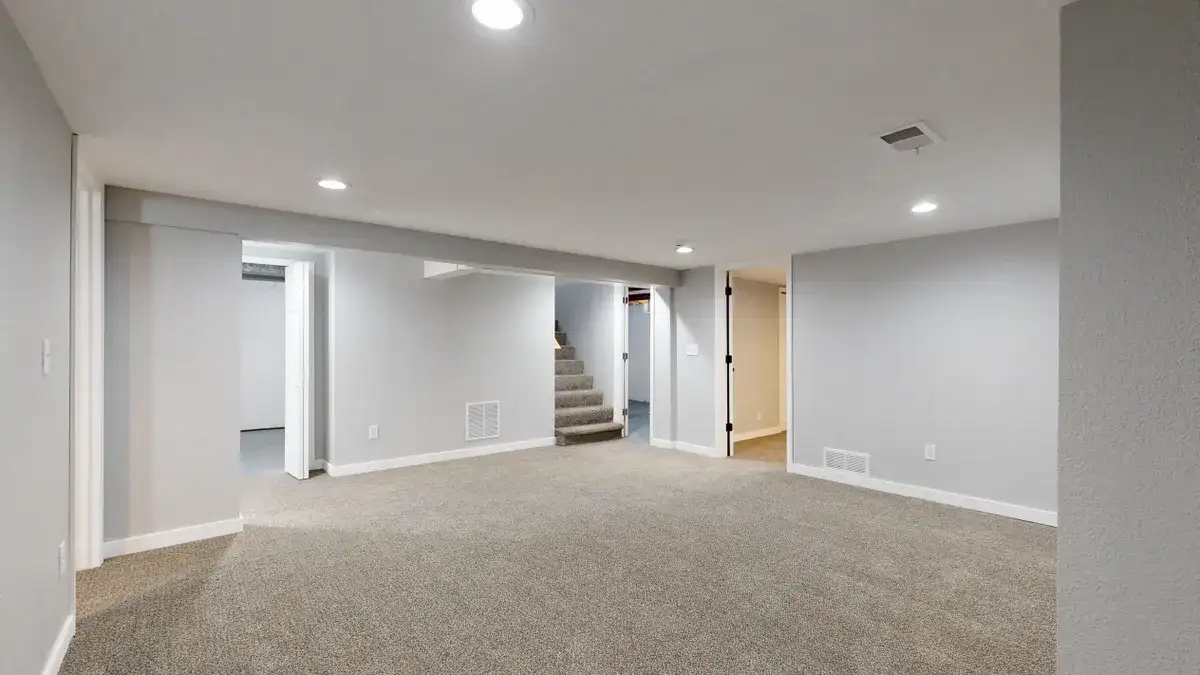
You plan around low ceilings and support columns by placing the lowest parts in the least-used zones and shaping rooms to fit the structural grid. Picture this: you’re trying to make one side of the basement feel finished while a beam cuts across the middle and the ductwork drops in two places. The right move is to let the structure set the room edges, not fight it.
Start by measuring the ceiling height in several spots, not just one. Many basements vary by several inches because of beams, duct runs, or slab slope. Put the lower-ceiling areas over storage, closets, hallways, or the mechanical room if the code and service access allow it. Save the tallest, cleanest span for the family room, play area, or other main living space.
Support columns need special treatment, so consult a licensed contractor or designer before you hide one or build around it. If a column lands in the wrong spot, do not try to hide it inside a narrow doorway or center of a seating group. Build the layout around it with a half wall, a cabinet run, a bar ledge, or a short hallway wall. That turns a problem post into a clean edge.
- Put low headroom areas in spaces that do not need long-standing use.
- Keep support columns on room edges whenever the footprint allows it.
- Leave clear paths around posts so furniture, strollers, and storage bins still move easily.
- Avoid placing a bedroom where the ceiling drops sharply at the foot of the bed.
A low ceiling does not always rule out a room, but it changes the room type. A storage nook can live under a duct chase with a 6-foot span; a main sitting area usually cannot. That trade-off is worth naming early, because moving a wall 18 inches later is far cheaper on paper than in wood, drywall, and finish work.
Place rooms so traffic flow stays simple
You place rooms so traffic flow stays simple by keeping the stair landing connected to the main open area and by putting closed rooms off the sides. Picture this: you come down the stairs with laundry, a kid, or a box, and you do not want to walk through two doors just to get anywhere. A basement that forces detours feels smaller than it is.
The stair landing is your starting node. From there, draw the shortest sensible path to the biggest shared room. Then place bedrooms, offices, or hobby rooms off that path instead of across it. Hallways in basements cost square footage fast, so every extra turn should earn its keep.
Therefore, think in zones:
- Public zone: family room, TV area, game space, open play area
- Quiet zone: office, bedroom, craft room
- Utility zone: mechanical room, storage, laundry, water softener, utility sink
Keep the noisy and busy pieces away from the quiet zone when you can. That means no furnace door opening into a sleeping room and no laundry machines sharing a wall with a desk if the layout gives you another option. A basement office with a direct path from the stairs works better than one buried behind a bedroom and a closet.
The truth is, traffic flow also affects safety. If the basement ever needs to clear fast, the path from the stairs to the exit should be obvious and uncluttered. Wide, direct paths matter more than fancy room shapes. A 36-inch aisle is a common planning baseline for comfortable movement, and tighter spaces feel cramped long before finish work starts.
Where should rooms go in a basement?
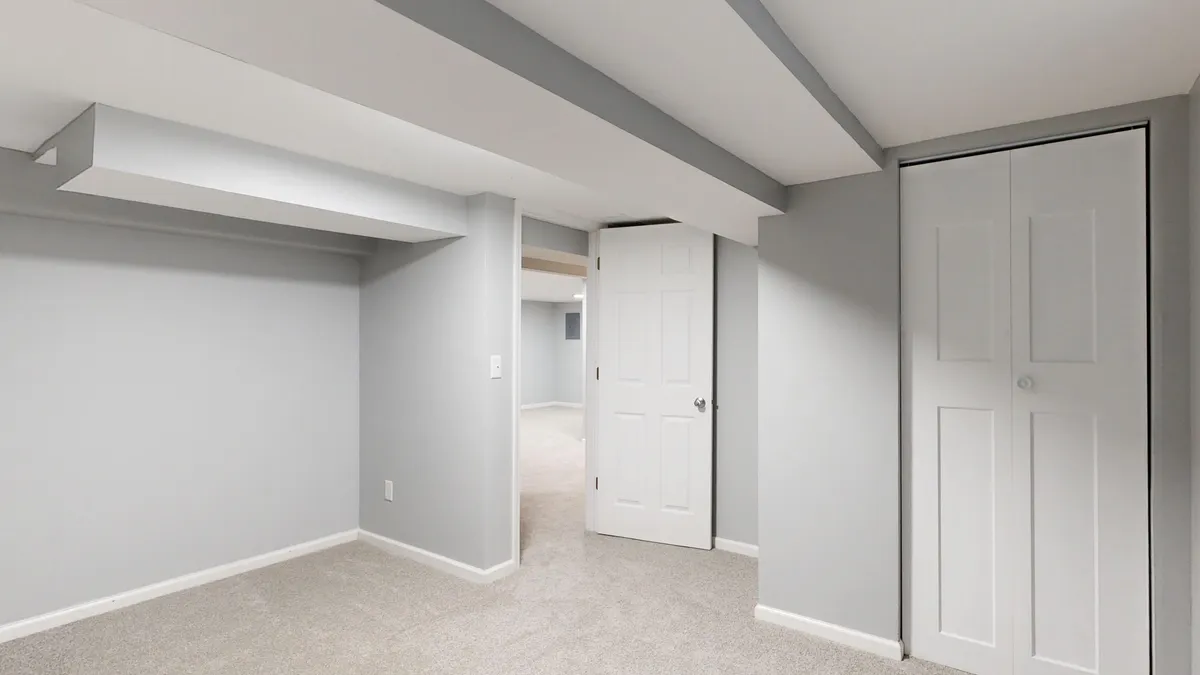
Rooms should go where the structure, utilities, and light already support them. Picture this: you’re trying to fit a bedroom, a bathroom, storage, and a media room into one level that started as a utility shell. The smartest plan puts the room that needs the most daylight and height near the egress window, then places the other rooms around it.
If the basement will include a legal sleeping room, place it where the egress window is easiest to reach and easiest to use. That room should not require a person to cross a maze of doors to get out. A bedroom near the window wall also tends to work better with furniture, because beds need solid wall space more than most rooms do.
Bathrooms belong near the bathroom rough-in if one exists. Moving a toilet or shower far from that rough-in can add cost and force a raised floor section or extra drain work. If the rough-in is in a corner, that corner is often the best spot for the bathroom, even if it is not the prettiest one.
Storage deserves a real place on the plan, not a leftover sliver. Long-term storage works best near the mechanical room, along low-ceiling runs, or under stairs if the access is sensible. Use doors, open shelving, or built-ins so the space looks intentional.
- Put the bedroom near the egress window and away from the mechanical room if possible.
- Place the bathroom closest to the rough-in to reduce plumbing changes.
- Give storage the awkward spaces that are hard to use for anything else.
- Keep the family room in the largest, tallest open span.
A basement that treats storage as an afterthought usually ends up with boxes in the wrong room, so consult a designer or contractor if the storage zone is not clear on the plan. That is a layout problem, not a storage-bin problem.
How should the utility and bathroom rough-in drive the layout?
The utility and bathroom rough-in should drive the layout because they are the hardest systems to move after the slab and framing are set. Picture this: you have a drain line in one corner, a water heater on one wall, and a panel that needs room to breathe. Those fixed items should shape the plan before a single partition goes up.
Start by grouping the utility items on one side if possible. A mechanical room works best when the furnace, water heater, and service access stay together instead of spreading across the basement. That makes maintenance simpler and keeps noise in one zone. If the utility wall is long, reserve the open area in front of panels and equipment for service access.
The bathroom rough-in should be treated like a hard point on the plan, not a bonus, so consult a plumber or building professional before you shift it. If the rough-in lands under a future vanity or near a side wall, design the bathroom around that position. Moving a drain stack later is much more disruptive than shifting a toilet paper holder or changing a vanity width.
Here’s the catch: a pretty floor plan can fail fast if it blocks access. A finished wall that traps the furnace filter, hides a cleanout, or narrows access to the electrical panel creates a bad basement no matter how nice the room names sound.
Common mistakes at this stage:
- Putting a bathroom on the opposite side of the basement from the rough-in
- Building storage in front of the panel or furnace
- Forgetting door swing space for utility equipment
- Leaving no route for future service work
A utility-first layout is not glamorous. It is the move that keeps the rest of the basement usable for years.
What should you decide before the framing plan is drawn?
You should decide the room list, the room sizes, and the wall lines before framing starts. Picture this: you’re staring at a blank slab and trying to guess which part should become the office, which part should stay open, and where the kids’ toys will go. If you wait until framing, every choice gets more expensive.
Write down the rooms you actually need, not the rooms you wish you had room for. Then assign each one a rough size and a position. A family room may need the biggest open span. A guest room may need a quiet wall and a closet. A laundry area may need only enough room for the machines, a folding counter, and a path to the utility sink.
Use these questions to pressure-test the plan:
- Can someone get from the stairs to the main room without a maze?
- Does the bedroom have a real egress path?
- Is the bathroom close to the rough-in?
- Can a technician reach the furnace, panel, and cleanouts without moving furniture?
- Do the support columns land where they can be worked into the design?
This is also the time to choose what not to finish. Leaving one corner as storage or unfinished utility space can make the whole basement work better. Not every square foot needs drywall.
Overall, a plan that says no to one room often makes three other rooms better. That is the trade-off most generic articles skip.
What to put on the drawing before you spend money
You should put measurements, fixed obstructions, door swings, and service clearances on the drawing before you spend money. Picture this: you’re holding a draft plan and wondering if it is “good enough.” If the drawing cannot answer where the post sits, where the panel opens, and how wide the hall needs to be, it is not ready.
A useful basement layout plan should show:
- Overall basement dimensions
- Stair location and landing shape
- Mechanical room boundaries
- Support columns and beams
- Egress window position
- Bathroom rough-in
- Door swings
- Major furniture or fixture placement
- Storage zones
- Any low ceiling or soffit area
Keep a second version for notes. Mark places where the floor slopes, where ducts drop low, and where a future wall may need blocking or extra framing depth. If you plan for those details now, the build crew has fewer surprises later.
For code-related layout questions, the International Residential Code (IRC) and local building rules are the right reference points. Egress, ceiling height, and bedroom rules often depend on location, so a local permit office or qualified pro should confirm the plan before framing begins. The IRC is the common baseline, but the local rule wins where they differ.
That is the last filter: if the drawing survives the structure, the utilities, the traffic path, and the code checks, it is ready for finishing work.
Key Takeaways
- A basement layout plan starts with fixed items, not room ideas.
- Support columns, low ceilings, and utility access should shape the rooms.
- The stair landing should connect cleanly to the main living area.
- Put the bathroom close to the rough-in whenever you can.
- Storage belongs in awkward zones, not in the middle of the best floor space.
- A clear drawing should show measurements, doors, windows, and service clearances before framing begins.
What should go in a basement first?
The fixed items should go in the basement plan first. That means the stair landing, support columns, mechanical room, bathroom rough-in, and egress window location. Those parts control where every other room can fit, so they come before the family room, office, or guest space.
How do you plan around low ceilings?
Plan around low ceilings by assigning them to storage, hallways, closets, or utility space. The taller, more open areas should hold the rooms where people spend time, like a family room or office. If the ceiling drops in one spot, use that area for something that does not need full headroom.
Where should rooms go in a basement?
Rooms should go where the structure and utilities already support them. A bedroom works best near the egress window, a bathroom works best near the rough-in, and storage works best in awkward corners or under stairs. The main living room should take the largest, cleanest open span.
Do I need to draw the plan before framing starts?
Yes. The plan should be settled before framing starts. Once walls go up, changes cost more and can force plumbing, electrical, or HVAC revisions that would have been easy to avoid on paper.
Drafted with AI; not yet reviewed by a person.